
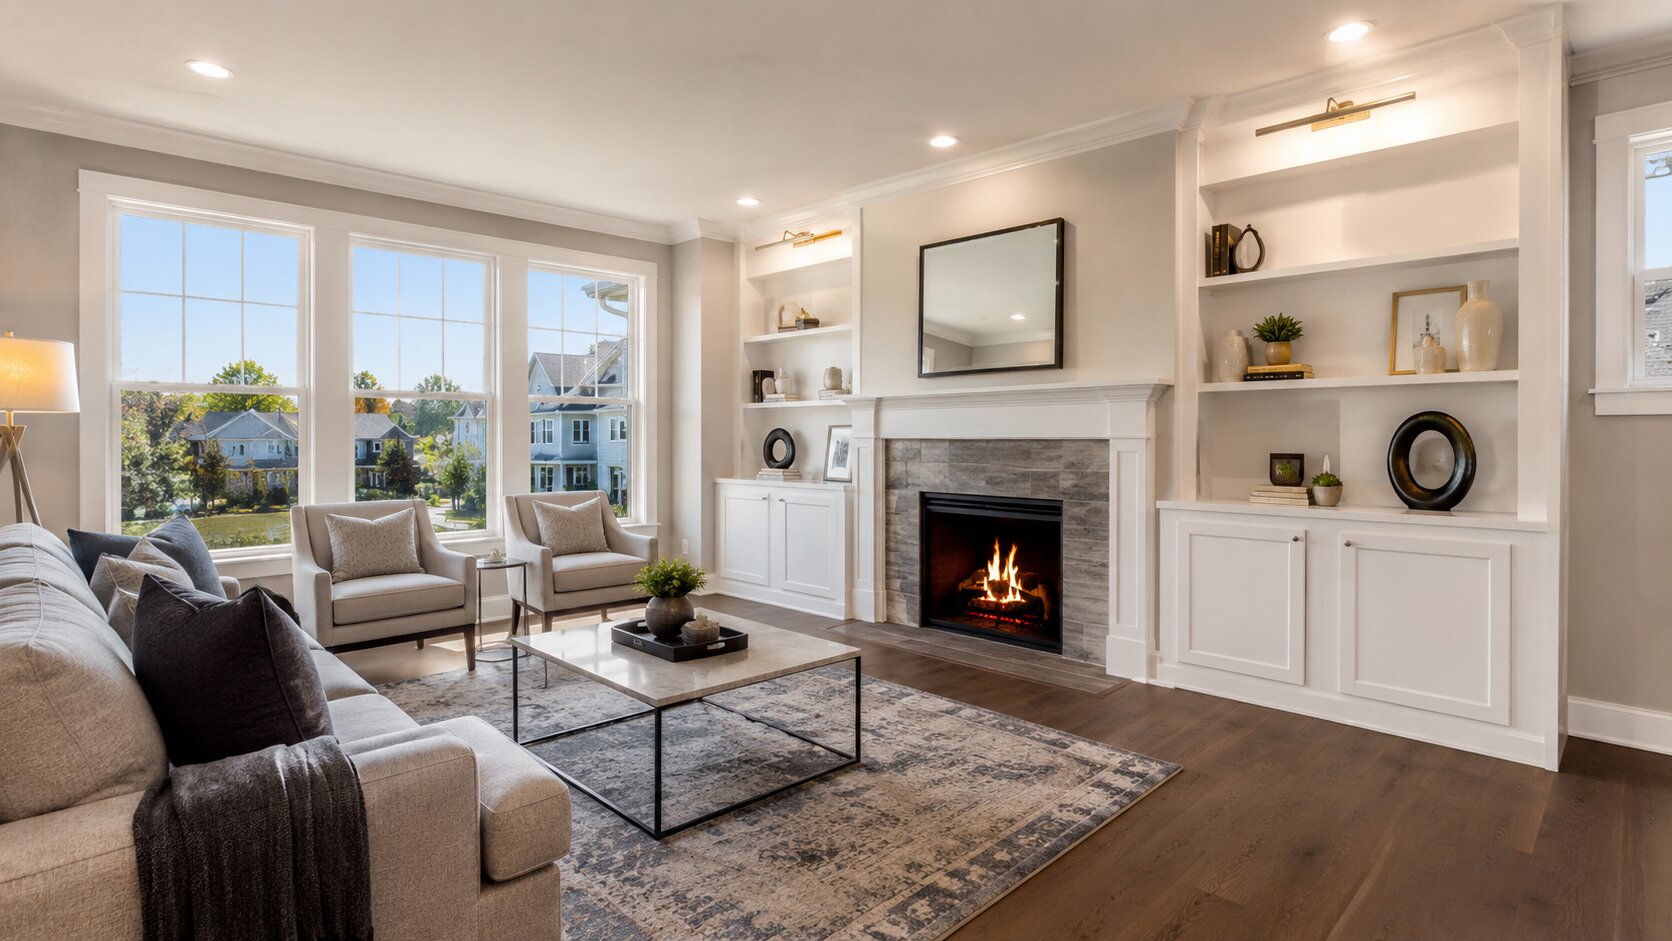
17 Sep Illuminate Your Listings: The Ultimate Real Estate Photography Lighting Guide
Most listing photos don’t fail because the house is ugly. They fail because the light was wrong. A living room that felt warm and open in person turns grey and cramped on the MLS, and the buyer scrolling past never learns any better.
That gap between how a property looks and how it photographs comes down almost entirely to real estate photography lighting, and it is the one variable you have the most control over.
This guide covers how to read light, shape it, and fix it, so your listings stop losing buyers in the thumbnail and start grabbing the attention they deserve.
Why Lighting Is the Secret Weapon in Real Estate Photography
Good light is what earns your listing an immediate second look. It opens up a room, pulls detail out of the corners, and gives a space the kind of glow that reads as “I could live here” rather than “this needs work.”
Two agents can list nearly identical colonials on the same street, and the one with brighter, cleaner, better-balanced photos will pull more showing requests. That is not a small edge in a market like Westchester, where a dozen comparable homes sit one scroll apart.
This is why real estate photography lighting deserves more attention than most agents give it. A kitchen bathed in soft, even light looks renovated even when it is merely tidy, while the same kitchen shot flat and dim looks dated. You are not deceiving anyone; you are showing the house the way it actually feels when someone walks in on a bright morning.
It is also the reason professional real estate photography tends to outperform a phone: the light is handled deliberately, not left to chance. Good lighting doesn’t just show a room. It sells the experience of standing in it.
| ℹ️ Pro Tip: Remember, good real estate photography lighting doesn’t just show a room. It sells the experience of standing in it. |
Understanding Natural Light: Your First and Best Tool
Before you buy a single piece of gear, learn to work with what comes through the windows. Natural light is free, flattering, and already in the room. The trick is timing and management.
Timing Is Everything: The Golden and Blue Hours
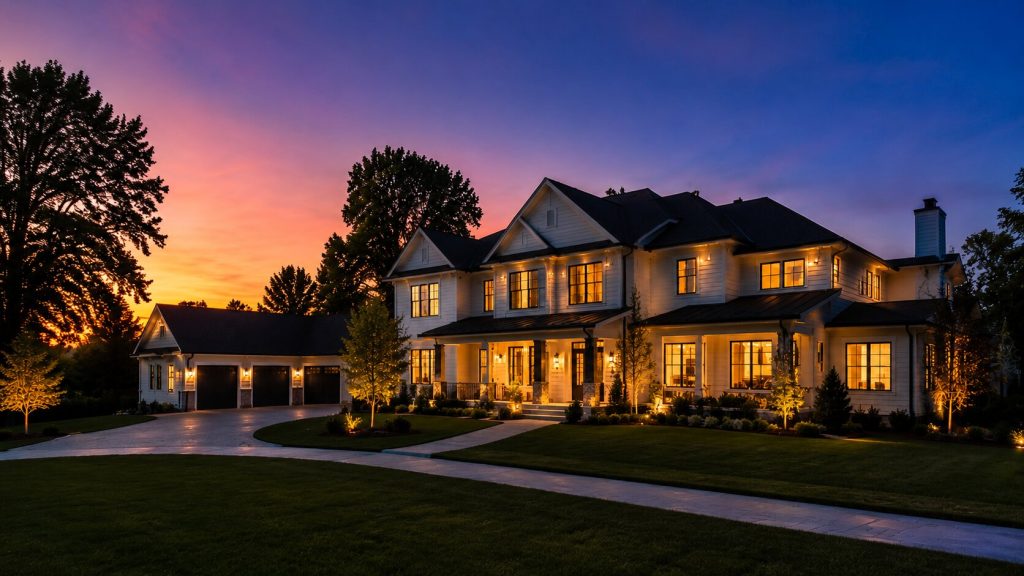
Exteriors come alive in the hour after sunrise and the hour before sunset, when the sun sits low, and the light turns warm. Twilight, or the blue hour just after the sun drops, is where luxury listings earn their money: interior lights glowing against a deep blue sky make a home look occupied and inviting.
Interiors, by contrast, usually shoot best in bright mid-morning or midday light, when rooms are filled evenly, and shadows stay soft.
Maximizing Window Light for Interior Shots
Windows are your largest, softest light source, so use them. Shoot with the window at an angle rather than dead behind you, and you will get directional light that adds depth instead of flattening everything out. The challenge is that a phone or an untuned camera cannot hold both a bright window and a darker room in the same frame, which is why the view blows out to white.
Professionals solve this by blending several exposures, one for the window and one for the interior, into a single balanced image. It is the same exposure-blending technique behind luxury real estate photography, where holding the view outside the window is often the whole point of the shot.
Dealing With Harsh Sunlight and Shadows
Direct summer sun through a south-facing window creates hard, distracting shadows and hot spots. Sheer curtains diffuse it into something usable. On brutal days, shoot that room earlier or later, or bounce your own light to fill the shadows the sun carves out.
Essential Lights for Real Estate Photography: Gear and Techniques
Natural light gets you far, but it runs out at dusk and hides in north-facing rooms. That is where dedicated lights for real estate photography come in. The goal is never to light a room like a film set. It is to add just enough clean light that the space looks like itself on its best day.
Speedlights and Flashes: Mastering the Bounce
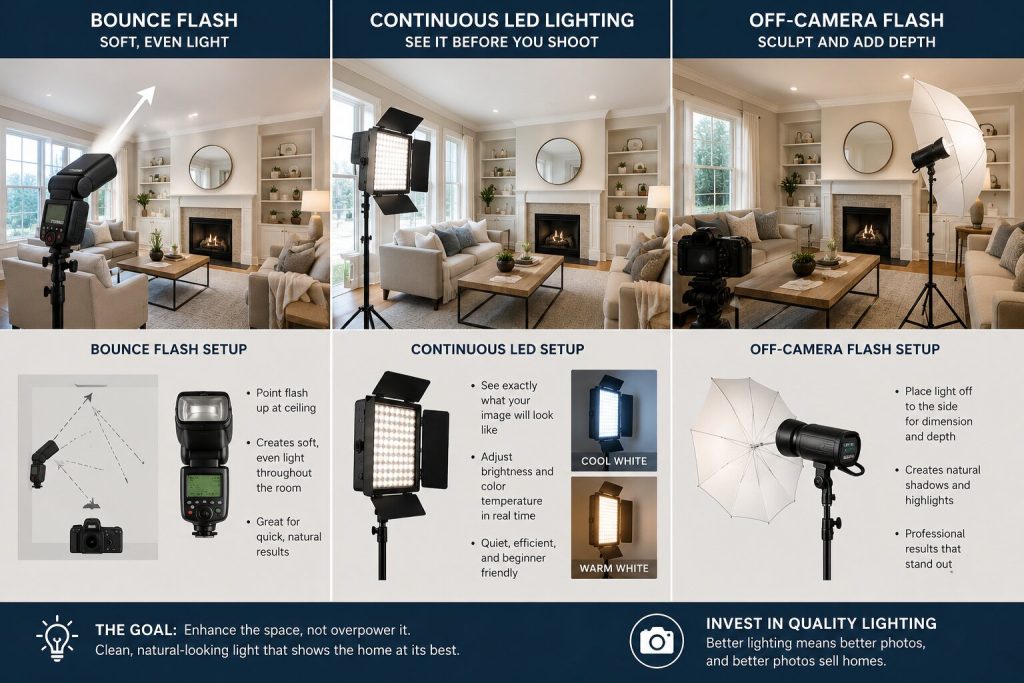
A speedlight aimed straight at a wall is a mistake. Aim it up at the ceiling instead, and the whole surface becomes a soft overhead source that wraps around the room without harsh shadows. Bounce flash is the single most useful lighting skill an agent shooting their own listings can learn.
Continuous LED Lighting: Consistent and Controllable
LED panels show you exactly what you are getting before you press the shutter, which shortens the learning curve. They are quieter to work with than flash and let you dial brightness and color temperature in real time. For someone still building confidence, that instant feedback is worth a lot.
Off-Camera Flash for Professional Results
Moving the flash off the camera and onto a stand is where results start to look genuinely professional. Light coming from the side sculpts a room and gives it dimension, rather than the flat, deer-in-headlights look of on-camera flash. Investing in quality lights for real estate photography is an investment in how every listing you shoot performs.
Advanced Lighting Strategies for Challenging Spaces
Every home eventually hands you a room that fights back. A windowless bathroom, a basement, a space lit by three different bulbs. Knowing how to handle those is what separates passable photos from the best lighting for real estate photography.
Conquering Dark Rooms and Poorly Lit Corners
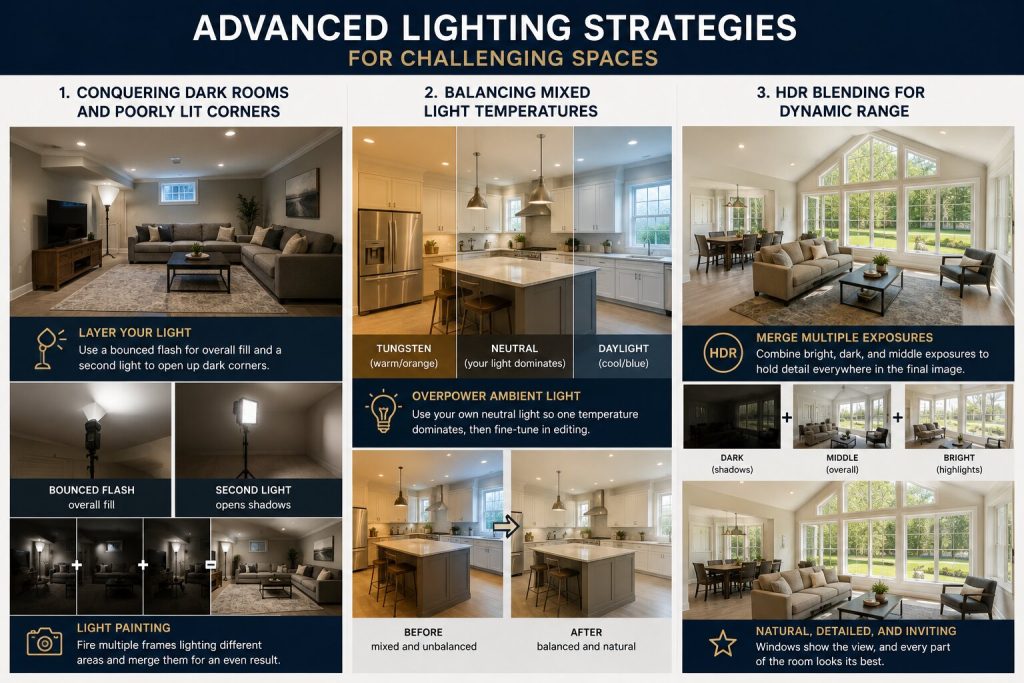
For interior spaces starved of daylight, layer your light. One source rarely covers a whole room evenly, so use a bounced flash for overall fill and a second light to open up the darkest corner. Light painting, where you fire multiple frames lighting different areas and merge them, rescues rooms that no single exposure can hold.
Balancing Mixed Light Temperatures
Tungsten bulbs read orange, fluorescents read green, and daylight reads blue. Leave them fighting and skin tones and walls go strange colors. The cleanest fix is to overpower the ambient bulbs with your own neutral light so one temperature dominates, then correct the rest in editing.
HDR Blending for Dynamic Range
HDR blending merges a bright, a dark, and a middle exposure into one frame that holds detail everywhere, from the shadowed hallway to the sunlit view outside. Done with restraint, it is how you get windows that show the yard instead of a white blank, which is the hallmark of the best lighting for real estate photography.
| ℹ️ Pro Tip: Editing refines good light; it does not manufacture it. The cleaner your shot is in-camera, the less time you spend rescuing it. |
Post-Processing: Bringing It All Together
The essentials are straightforward: set exposure so the room reads bright but not washed out, fix white balance so whites look white, recover blown highlights and lifted shadows, and correct any lingering color casts.
Consistency matters as much as any single adjustment. When every photo in a gallery is edited to match, the set reads as one polished listing rather than twenty photos taken by different hands.
Get Your Listings Noticed With Photos That Actually Sell
Lighting is learnable, and even a few of these habits will lift your own photos. But in a market where a single Westchester sale can turn on which listing looks better online, there comes a point where the time you spend wrestling with exposures is worth more spent selling.
That is where a professional pays for itself: the light, balance, and color hold from one property to the next, and interior work pairs with aerial drone photography to show the home from angles a handheld camera never will.
Interested? Contact At Home Media with your details and go-live date, and your next listing will be lit to sell before it ever hits the MLS.
FAQ
What is the best lighting for real estate photography?
The best lighting for real estate photography is usually a mix rather than one source. Bright, diffused natural light carries most interiors, and you supplement it with bounced flash or LED panels in rooms that daylight can’t reach. The aim is even, natural-looking light that shows the space at its best, not a room lit like a studio.
What time of day is best for real estate photography lighting?
It depends on the shot. Exteriors look their best in the hour after sunrise or before sunset, when the light is warm and low. Interiors shoot best in bright mid-morning or midday light, when rooms fill evenly, and shadows stay soft. Twilight is worth the wait for high-end exteriors, where interior lights glowing against a blue sky make a home look lived-in.
Do I need to buy lights for real estate photography, or is natural light enough?
Natural light gets you a long way, and for a well-windowed home in good weather it may be all you need. But it runs out at dusk and hides in north-facing or windowless rooms, so a set of dedicated lights for real estate photography gives you consistency the sun can’t promise. A single bounce flash covers most of what an agent shooting their own listings will run into.
Why do my listing photos look dark even in a bright room?
Usually, because the camera can’t hold a bright window and a darker interior in the same frame, so it exposes one and loses the other. Good real estate photography lighting solves this by blending several exposures into one balanced image, which is why professional interiors hold both the room and the view outside.

No Comments