
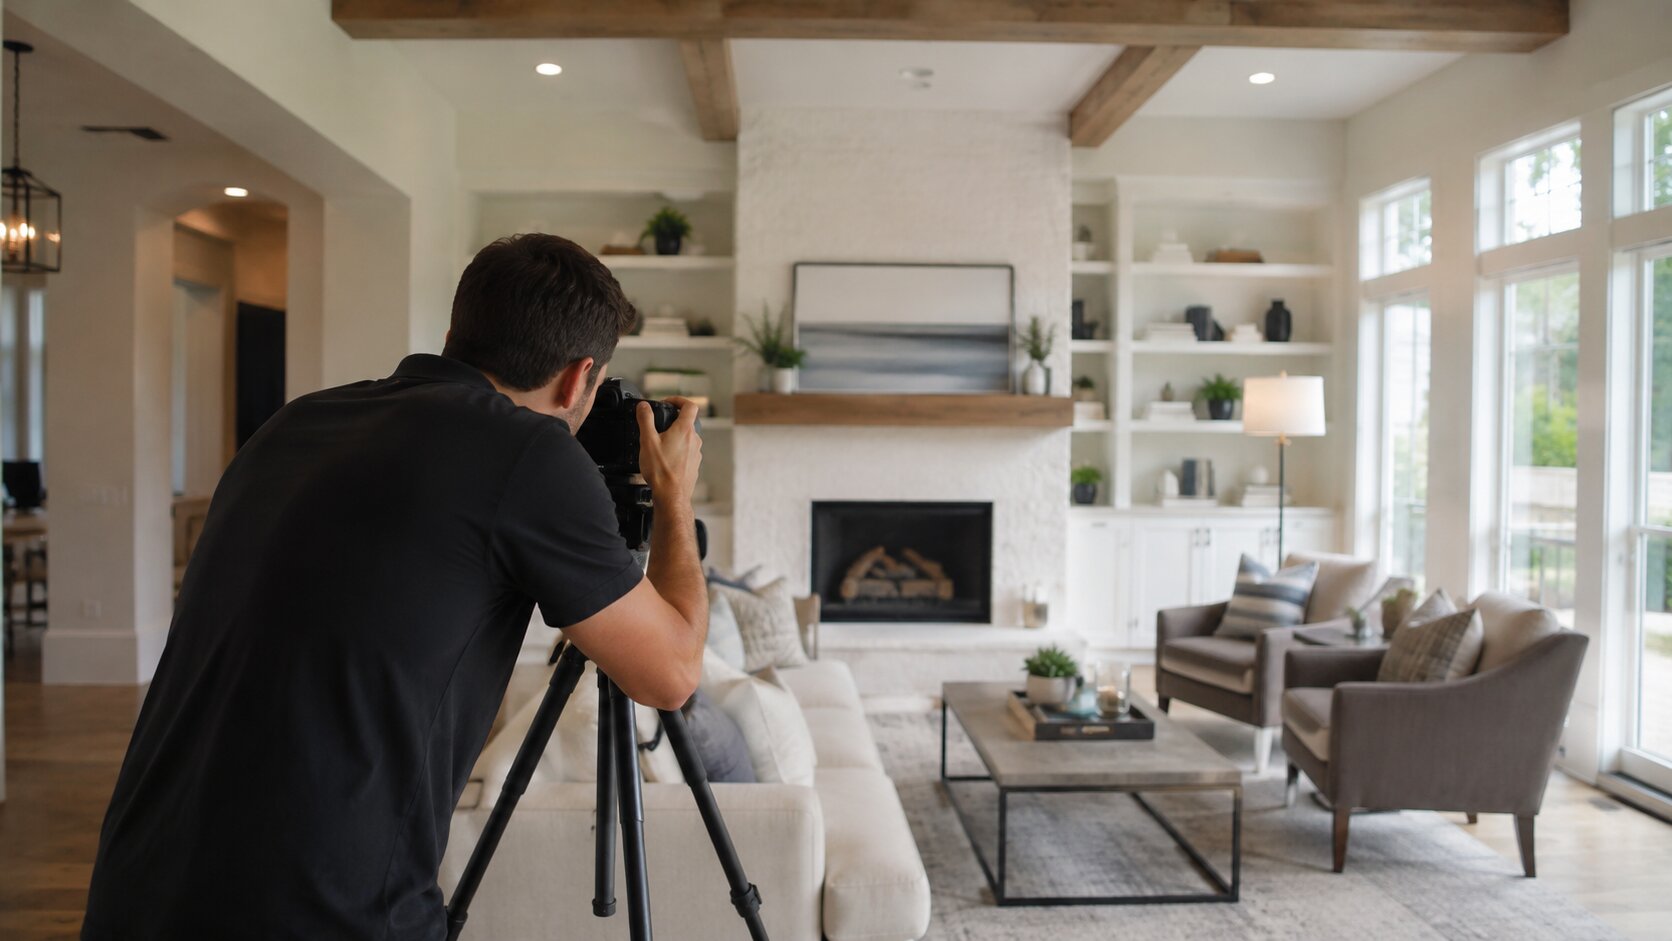
17 Sep The Essential Real Estate Photography Checklist
Every real estate photographer will tell you the same thing about shoot day: the difference between a good gallery and a great one is decided in the hours before the camera comes out. A property that has been properly prepared photographs well, while a property that hasn’t will fight the camera in every frame.
For agents and property owners in Westchester County, preparation is what makes the difference between a listing buyers want to see in person and one they breeze past on the MLS.
Our real estate photography checklist covers what needs to be handled before shoot day, from interior staging to exterior curb appeal. Agents can also use it as a real estate photography client checklist, sending it to sellers ahead of every booking so nothing gets missed on the day.
The Importance of Preparation in Real Estate Photography
Preparation is important because photography is unforgiving. A camera picks up fingerprints on stainless steel, a lampshade tilted at the wrong angle, or a stray shoe left in the entryway. Lighting and exposure can be corrected in post-production, but a pile of mail on the kitchen counter or a bin left out by the driveway cannot.
There is a practical side to preparation as well. A well-prepared home lets the photographer spend more time finding the best angles instead of waiting for surfaces to be cleared.
Remember, every hour spent staging beforehand pays back in a stronger gallery, and the same principle applies to the equipment behind the camera. Choosing the right lens for real estate photography matters as much as staging the room being shot.
The Data Behind Well-Prepared Listings
Professional listing photography matters because buyers increasingly judge properties online before deciding whether to view them in person. According to the National Association of Realtors’ 2025 research, 88% of sellers’ agents said having photos available for listings was more or much more important to their clients, while 83% of buyers’ agents said staging helps buyers visualize a property as their future home.
That difference compounds across a year of listings. An agent who consistently sends properly prepared homes to the photographer builds a portfolio that performs and a reputation with sellers that follows.
Your Ultimate Real Estate Photography Checklist: Interior Spaces
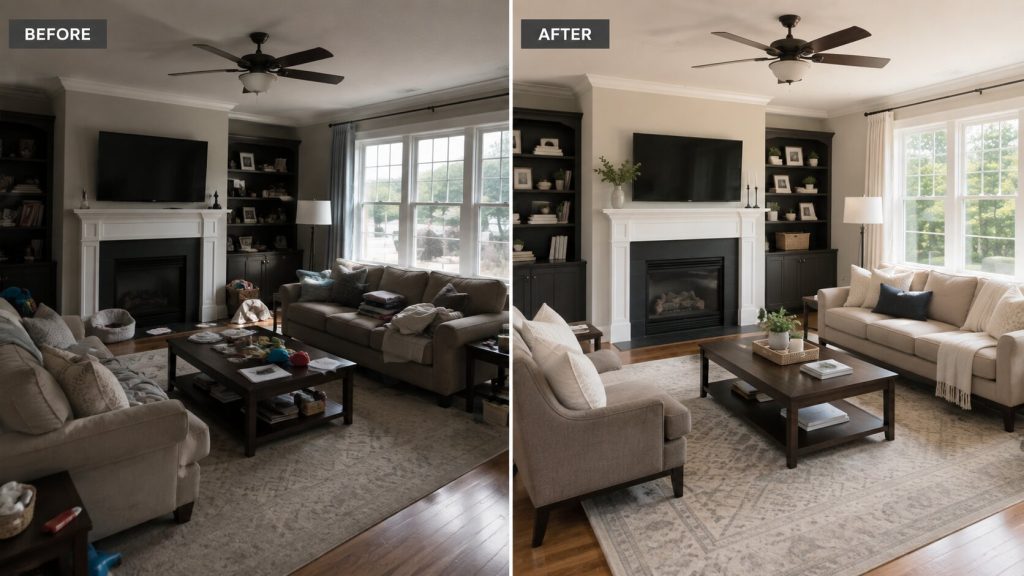
Interior preparation follows a simple principle: remove everything that shouldn’t be seen, and highlight everything that should. Start with a full declutter, room by room, then move to deep cleaning, then to staging. The order matters. Cleaning a cluttered surface takes twice as much work.
| ℹ️ PRO TIP: Declutter before you clean. Clearing surfaces and floors first makes deep cleaning quicker and gives every room a more spacious, camera-ready appearance. |
Kitchen & Dining Room Essentials
The kitchen is the room buyers scrutinize most closely. Clear every countertop except one or two intentional items, such as a bowl of fruit or a cookbook stand. Remove magnets, notes, and photos from the fridge. Hide the dish rack, sponges, and cleaning products. Wipe down the appliances so they don’t catch reflections of the room’s clutter.
In the dining area, set the table if it makes sense for the property’s price point. A styled table gives buyers something aspirational to picture themselves in. Leave it bare if styling would look staged rather than natural.
Living Areas & Bedrooms: Creating Inviting Spaces
Living rooms photograph best when they feel spacious. Remove one or two pieces of furniture if the room feels crowded. Fluff cushions, straighten throws, and align rugs with the furniture. Any remote controls, magazines, or laptops should be tucked out of sight.
Bedrooms need to be styled as guest rooms rather than lived-in spaces. Make the bed with clean, neutral linens, iron out any wrinkles, and remove personal items from nightstands. Clothes should be inside closets, not on chairs. Windows should be open enough to let light in.
Bathrooms: Sparkle and Shine
Bathrooms are where sloppy preparation shows most. Every surface needs to be spotless. Remove toiletries, toothbrushes, and razors from the counter. Hide the trash can. Roll fresh towels and hang them symmetrically. Close the toilet lid. Wipe down every mirror and fixture so nothing catches unwanted reflections.
Entryways & Hallways: First Impressions Matter
The entryway sets the tone for the whole gallery because it often becomes the first interior shot in the sequence. Remove shoes, coats, and mail. Hide any pet items. If the entryway has a console table, style it lightly with a plant or a small piece of art.
Hallways should be completely clear. Nothing on the floor, no laundry baskets, no boxes. Turn every light on so the space doesn’t feel like a shadowy transition between rooms. Explore the range of professional real estate photography services available for Westchester listings to see how prepared interiors translate on camera.
Exterior Excellence: Preparing the Property’s Curb Appeal
The exterior is the first image buyers will see on the MLS. It carries more weight than any other single shot in the gallery. Preparing it properly is worth as much attention as the interior.
Landscaping & Garden Grooming
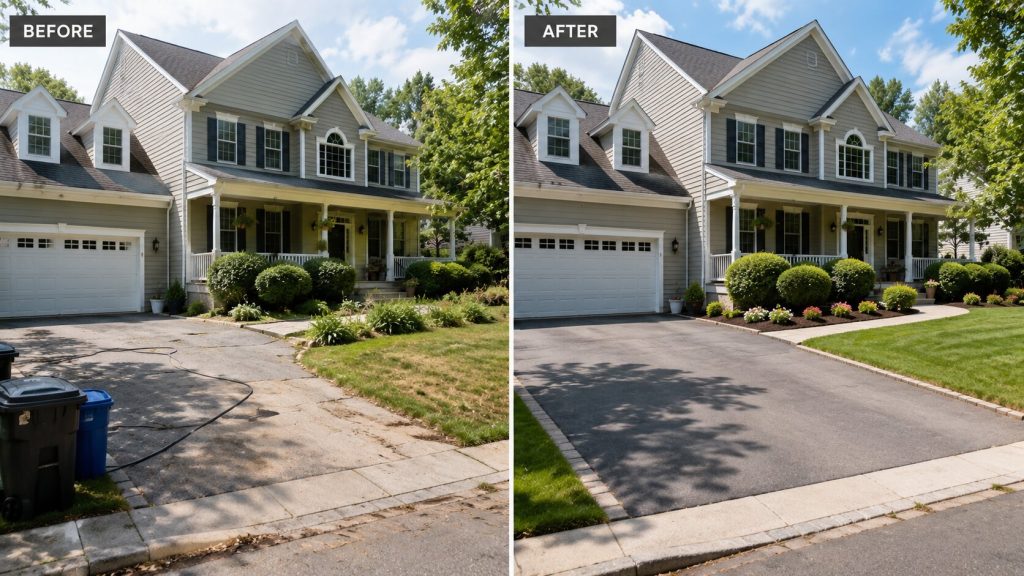
Mow the lawn the day before the shoot, not the day of. Fresh cuts often look uneven in photographs and can show mower tracks. Edge the flowerbeds, pull any visible weeds, and prune shrubs that are blocking windows or walkways. If it’s autumn, rake the leaves. If it’s spring, put down fresh mulch.
| 👉 DID YOU KNOW? The exterior is typically the first image buyers see on the MLS, making curb appeal one of the most important parts of shoot preparation. |
Driveways, Walkways & Entrances
Sweep the driveway, walkway, and porch. Hose down any oil stains or accumulated dirt. Remove trash cans, recycling bins, and garden hoses from view. Coil hoses out of sight or move them behind a fence.
The front door deserves specific attention. Wipe it clean, polish the door knocker or handle, and consider replacing a worn welcome mat with a fresh one. Buyers stop at the front door in every gallery.
Patio, Deck & Outdoor Living Areas
Outdoor spaces need the same attention to styling as interior rooms. Arrange patio furniture in conversational groupings. Add cushions or throws if the space feels bare. Remove any grills covered with tarps, propane tanks, or gardening tools. If there’s an outdoor dining table, set it lightly.
Vehicle & Obstacle Removal
Every car needs to be moved off the driveway and away from the front of the house, including cars parked on the street directly in front of the property, if possible. This applies to the neighbors’ cars too, as far as that can be coordinated. Bikes, scooters, garden tools, and any construction materials should be stored out of sight.
Beyond the Basics: Advanced Tips for a Flawless Photoshoot
The checklist above covers the visible preparation. These additional considerations often make the difference between a good gallery and one that truly performs on the MLS.
Lighting & Window Treatments: Maximizing Natural Light
Open all blinds and curtains on the property before the photographer arrives. Turn on every light in every room, including closet lights, exterior lights, and lamps. This adds warmth to the finished images and helps the photographer’s exposures balance more evenly.
Replace any burnt-out bulbs at least a day before the shoot. Match bulb temperatures where possible, since mixed warm and cool bulbs in the same frame create odd color casts that are difficult to correct in post.
| ℹ️ PRO TIP: Match bulb temperatures throughout each room. Mixing warm and cool lighting can create distracting color casts that are difficult to correct during editing. |
Pet & Personal Item Management
Pets should be off the property during the shoot, either with a neighbor, at daycare, or in a car being driven by someone. Pet beds, food bowls, litter boxes, and toys all need to be removed from view. Vacuum any visible pet hair from furniture and rugs.
Personal items belong out of sight. Family photos, religious items, political items, diplomas, and children’s artwork should all come down. Buyers need to picture themselves in the home, and that becomes harder when the current owner is visually present in every room.
Communicating with Your Photographer
Send a short brief to the photographer before the shoot day. Include the property address, the price point, the target buyer, and any specific features worth highlighting. Mention any add-on services being included, such as virtual staging for empty rooms or twilight coverage. A well-briefed photographer walks into the property already thinking about the best shots to capture.
The At Home Media Advantage: Improve Your Listings in Westchester County
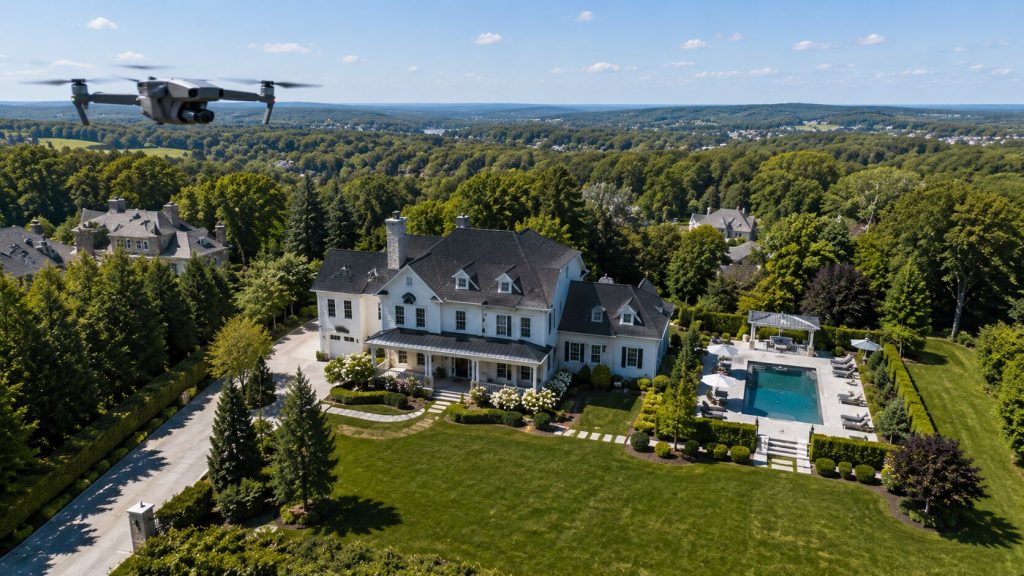
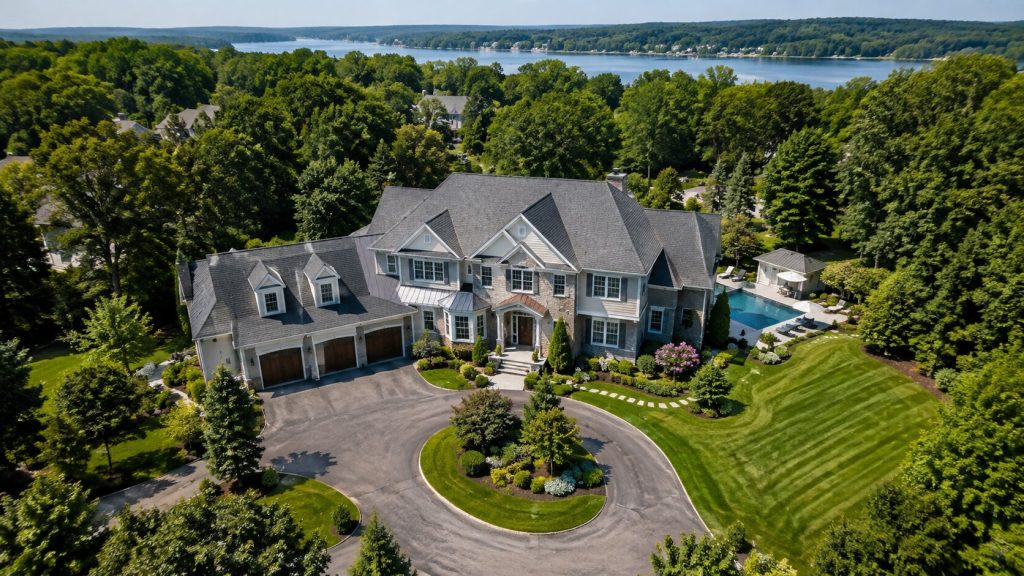
A meticulously prepared property gives the photographer everything they need to produce a strong ground-level gallery. Pairing that with aerial drone coverage is what makes a Westchester listing really stand out.
Drone photography captures what ground-level shots cannot: property boundaries, proximity to amenities, the way the home sits within its landscape, and the character of the surrounding neighborhood. For properties with land, mature trees, waterfront access, or standout roofing and architecture, aerial coverage adds a perspective buyers can’t get any other way.
At Home Media handles both the ground and aerial work in a single visit, which means one point of contact, one consistent visual style, and one properly prepared property being photographed from every angle it deserves.
| 👉 DID YOU KNOW? Well-staged homes with professional photography have been reported to sell up to 32% faster than comparable listings without professional visuals. |
Upgrade Your Marketing: Work With the At Home Media Team
Preparation gets the property ready. The right photographer takes it from there. Get in touch with At Home Media to book your next Westchester real estate shoot, or request a custom quote for a full media package including drone, floor plans, and video.
Real Estate Photography Checklist FAQs
How far in advance should I start using this real estate photography checklist?
Aim to start at least a week before shoot day. That gives enough time to handle deep cleaning, landscaping, minor repairs, and any styling that requires new items to be ordered. The final round of preparation (fresh linens, wiped surfaces, lights on) should happen the morning of the shoot.
Should I share a real estate photography client checklist with my seller before the shoot?
Yes. Sellers often underestimate how much preparation matters, and sending a written checklist ahead of shoot day sets clear expectations. It also protects the agent from having to correct problems on-site while the photographer is waiting. A real estate photography client checklist that covers both interior staging and exterior curb appeal is one of the most useful documents an agent can have on file.
What if the property is vacant?
Vacant properties still benefit from the exterior checklist, and interior preparation focuses on cleanliness rather than staging. Consider virtual staging as an add-on to give empty rooms a sense of scale and lifestyle in the finished gallery.
How long does a typical shoot take once the property is prepared?
Most residential shoots take between one and two hours on-site. Larger homes, twilight sessions, and bundled bookings that include drone or floor plans will take longer, but a properly prepared property keeps the on-site time efficient.
What's the single most impactful item on the checklist?
Decluttering. Every other step matters, but a cluttered home defeats even the best photographer. Clear surfaces, hidden personal items, and empty countertops make more of a difference to the finished gallery than any other single preparation task.


No Comments