
17 Sep Real Estate Videography Tips: Master Property Video Marketing
A listing with blurry smartphone footage or shaky handheld clips doesn’t just fail to impress buyers, but actively erodes trust in the property and the agent behind it.
Static photos can show a room, but they can’t communicate how light moves through a space at noon or how a backyard connects to a wooded trail.
Video does both, and it does them in a way that stops someone mid-scroll. To get the most out of it, check out our real estate videography tips, which are designed to help agents, property owners, and marketers in Westchester County produce videos that genuinely move buyers to act.
Why Real Estate Videography Is Essential for Modern Listings
Buyer behavior has shifted toward visual-first research. According to the National Association of Realtors, the vast majority of buyers now begin their property search online, which means your listing’s first impression is entirely visual and happens before any phone call or showing is booked.
Video content raises the bar for what “a good listing” looks like. Homes presented with video receive dramatically more attention than those relying on photos alone, and research from Forrester Research has found that video content is exponentially more likely to appear in top search results than text-based pages. That kind of visibility matters in a crowded market like Westchester.
Beyond raw numbers, video marketing lets you do something photos never can: show the story of a home.
The way natural light fills a breakfast nook, the proximity of a property to a park, and the neighborhood character come through in a well-shot video. That emotional context is often what pushes a buyer from “interested” to “I need to see this.”
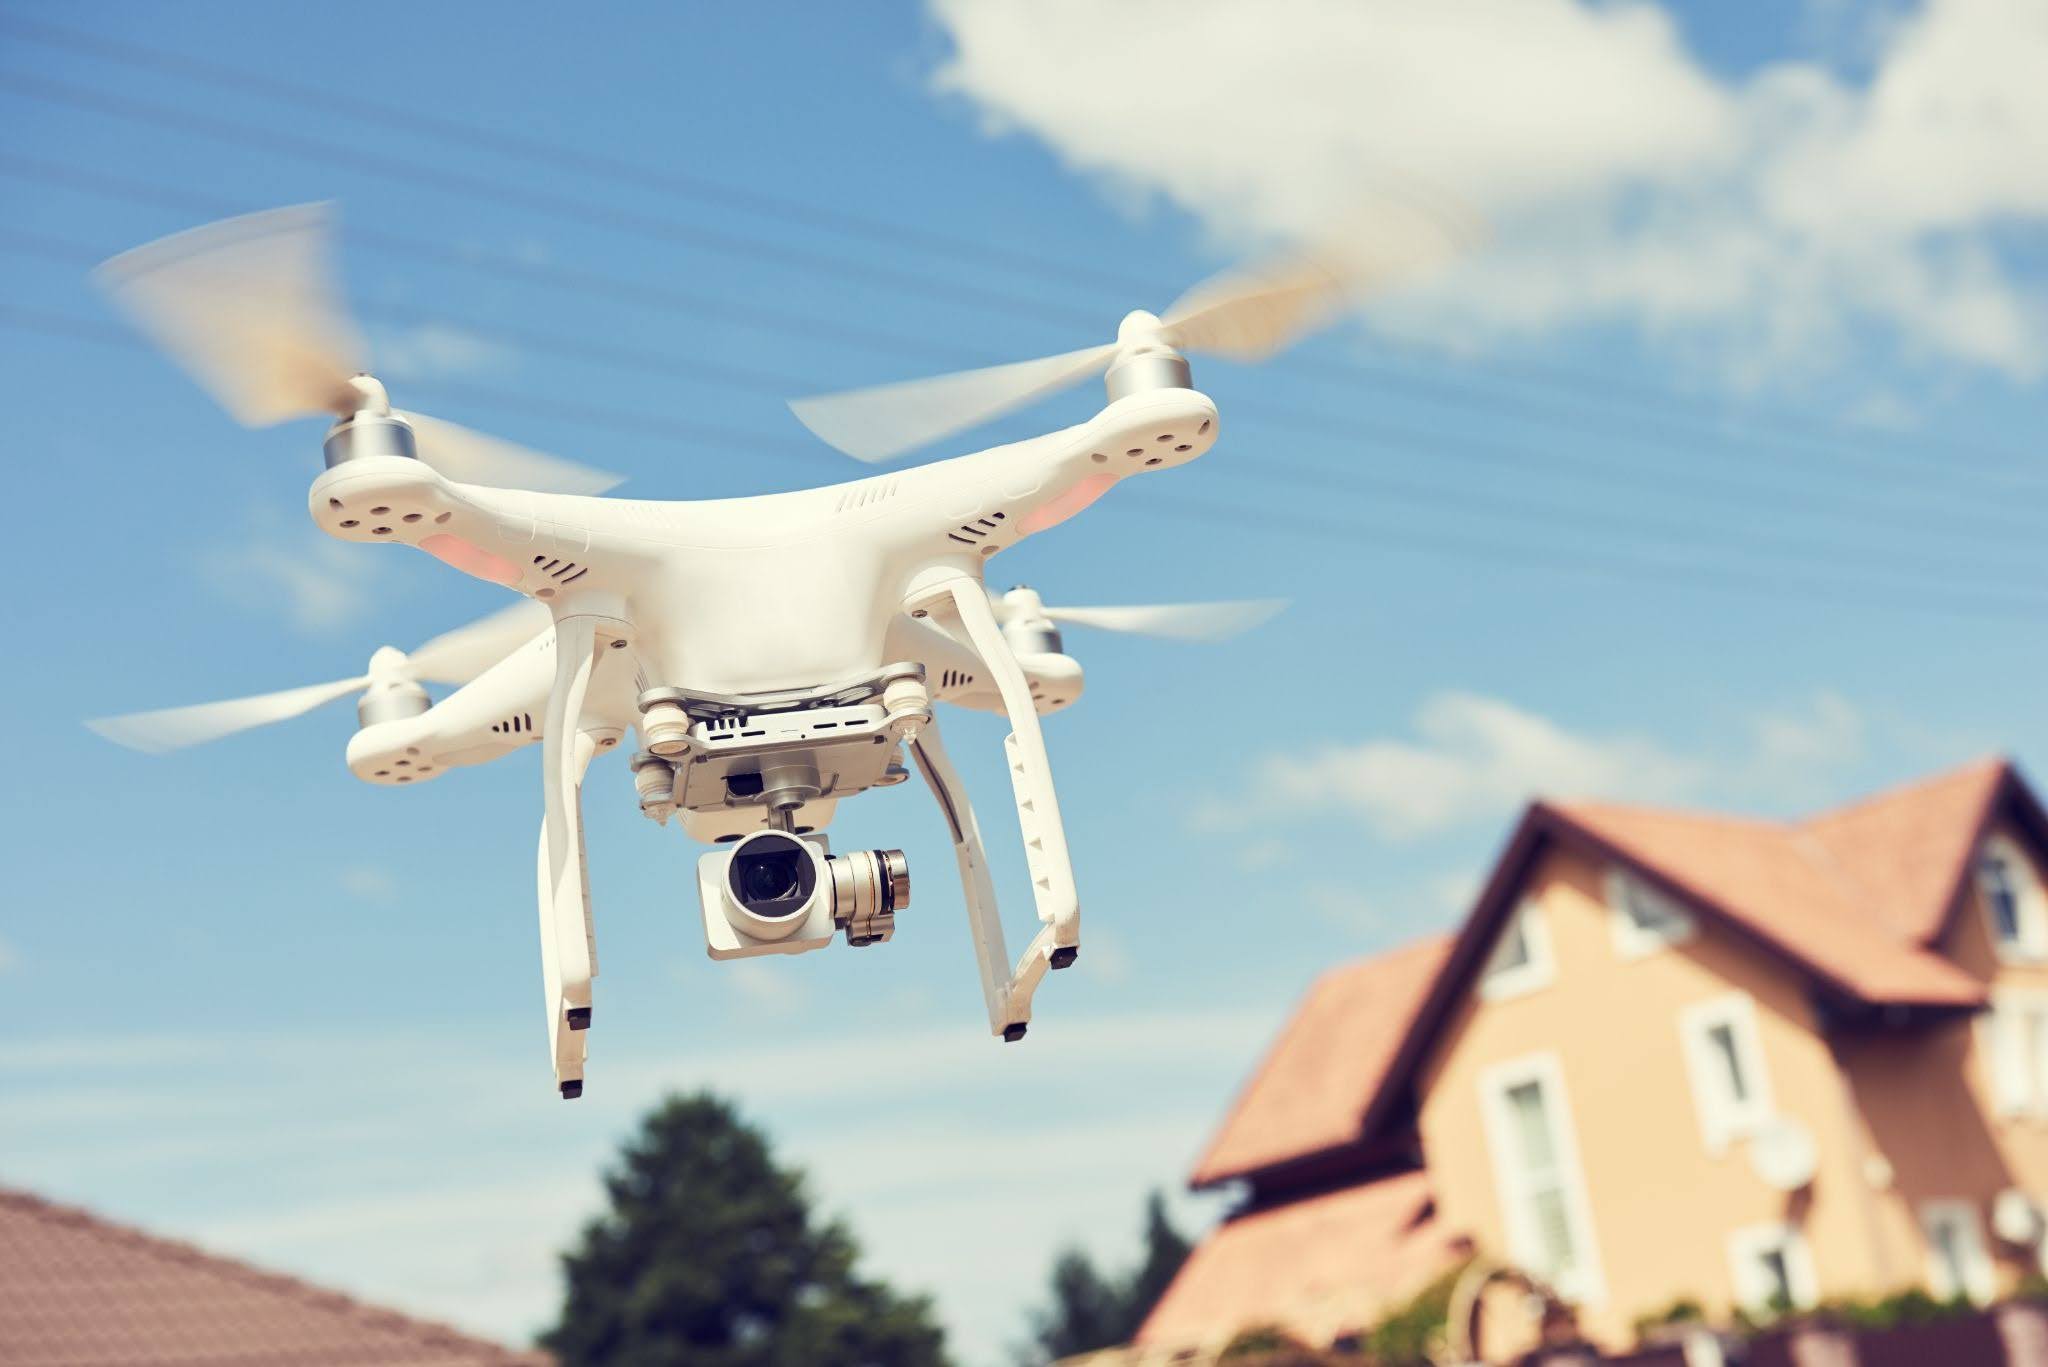
| 🏠 Did you know? In NAR’s 2025 survey, 52% of REALTORS® used drone photography/video, and 45% said clients responded very positively to technology in the buying and selling process. |
The Benefits of Real Estate Videography
Key advantages of incorporating video into your real estate marketing:
- Higher listing visibility across search engines and social platforms
- Longer time-on-page for online listings, which signals quality to algorithms
- Better communication of scale, flow, and spatial relationships within a property
- Stronger emotional connection between the buyer and the home
- Reduced time on market for listings that include professional video
Planning Your Real Estate Video Shoot for Success
Good footage starts before you ever pick up a camera. The planning phase is where most DIY real estate videos fall apart, and where professional productions pull ahead.
Even a few hours of preparation can be the difference between a polished walkthrough and a chaotic jumble of disconnected clips.
Define Your Objectives and Identify Selling Points
Start by asking what you want a buyer to feel after watching the video. Is this a luxury family home near top-rated schools? A downtown condo with walkability as its main draw?
Your answer should shape every shot you plan. Walk through the property in advance and note the five or six features most likely to resonate with your target buyer.
From there, build a simple shot list. It doesn’t need to be elaborate. A one-page breakdown of exterior establishing shots, key interior rooms, special features (fireplace, chef’s kitchen, finished basement), and any outdoor spaces is enough structure to keep a shoot on track.
Equipment Basics for Beginners and Experienced Shooters
| Equipment | Purpose | Beginner Option | Pro Option |
|---|---|---|---|
| Camera | Primary capture device | Smartphone with 4K capability | Mirrorless camera (Sony A7 series, Canon R6) |
| Stabilizer | Smooth movement through rooms | Basic 3-axis gimbal | DJI RS series or similar |
| Lighting | Supplement natural light indoors | Portable LED panel | Full lighting kit with diffusion |
| Drone | Aerial context shots | DJI Mini series (FAA registration required) | DJI Air 3 or Mavic 3 Pro |
| Audio | Voiceover or ambient sound | Smartphone mic | Lavalier or shotgun mic |
One note on drones: flying commercially in the U.S. requires FAA Part 107 certification. If you’re not certified, it’s safer (and legally required) to hire a licensed operator.
At Home Media’s team holds the appropriate certifications and handles aerial photography and videography for properties throughout Westchester County.
Mastering On-Site Real Estate Filming Techniques
Execution on the day of the shoot is where your preparation pays off. Even seasoned videographers encounter surprises, overcast skies replacing expected golden-hour light, cluttered rooms the seller didn’t stage, or a noisy street that disrupts the ambiance. Flexibility matters, but so does a firm grasp of fundamentals.
Lighting: Work With What You Have
Natural light is your best friend in real estate videography. Schedule exterior shoots during the golden hour (the hour after sunrise or before sunset) for warm, even tones that make facades look their best.
For interiors, turn on all available lights, open every blind and curtain, and use supplemental LED panels to fill in shadows without creating harsh glare.
Avoid mixing color temperatures if you can. Warm incandescent bulbs and cool daylight streaming through a window create an unbalanced, unprofessional look. Either match your supplemental lights to the dominant color temperature or adjust in post-production with careful color grading.
Camera Movement and Angles
Keep this in mind: Smooth transitions are the single biggest factor separating amateur real estate videos from professional ones. Jerky movements or abrupt cuts make viewers disengage almost immediately.
Use a gimbal for all interior walkthroughs. Move slowly and with intention. A good rule of thumb is to move at roughly half the speed that feels natural to you on the day. In playback, that pace will look right. Rushed movements almost always look rushed on screen.
Vary your angles strategically:
- Start rooms with a wide establishing shot from the doorway
- Follow with a slow push-in to create depth and draw the viewer into the space
- Use low angles in living areas to emphasize ceiling height
- Shoot kitchens and bathrooms at counter height for a realistic, immersive perspective
- Close-up detail shots (hardware, tile, fixtures) add texture and convey quality
Exterior and Aerial Shots
The exterior shot is typically the first frame a viewer sees, so it carries a lot of weight. Capture the home from multiple distances: a full-street view for context, a mid-range shot showing the facade and landscaping, and a close detail shot of the entrance.
Drone footage adds more context that ground-level shots simply can’t replicate, showing lot size, proximity to amenities, and neighborhood character in a single sweep.
Post-Production Perfection: Editing Your Real Estate Video
Raw footage almost never looks like a finished product, and editing is where your video either comes together or falls apart. You don’t need Hollywood-level software.
Tools like Adobe Premiere Pro, DaVinci Resolve (which has a free version), or even iMovie for beginners can produce polished results.
Pacing and Structure
A typical real estate listing video runs about 1 to 2 minutes, while longer property tours may last 3 to 5 minutes. Because audience retention data show a sharp early drop-off (with 55% of viewers lost by the 60-second mark, as confirmed by studies), it’s smart to front-load your strongest footage.
Open with your strongest exterior or aerial shot, then move through the home in a logical sequence that mirrors how a buyer would naturally tour it.
Cut out anything that doesn’t serve the story. A seven-second shot of a hallway adds nothing. A two-second detail of custom cabinetry hardware might close a sale. Be ruthless about trimming.
Music, Voiceovers, and Text Overlays
Background music sets the emotional tone of the video without the viewer consciously registering it.
Choose tracks that match the property’s personality, upbeat and contemporary for a modern condo, warm and calm for a family colonial. Royalty-free libraries like Artlist or Epidemic Sound offer professional-quality options with clear licensing for commercial real estate use.
Voiceovers work well for luxury listings where a narrator can highlight specific features as they appear on screen. Text overlays (address, number of bedrooms, key features) are useful for social media cuts where viewers often watch without sound.
Color grading the final edit ties everything together visually and creates a consistent, branded look across all of your listings.
Maximizing Your Video’s Reach: Distribution and Promotion Strategies
Producing a great video is only half the job. Getting it in front of the right buyers requires a deliberate distribution strategy. Most agents upload to a single platform and stop there, leaving a significant portion of their potential reach on the table.
Platform-by-Platform Strategy
- YouTube: Upload the full-length video with a keyword-rich title and description. YouTube is the second-largest search engine globally, and property videos indexed there can surface in Google search results for local buyers.
- Instagram and Facebook: Create a shorter 60-90 second cut optimized for vertical or square formats. Use location tags and relevant hashtags for Westchester County to reach local audiences organically.
- MLS listings: Many MLS platforms allow video links. Include the YouTube URL directly in your listing notes or the designated video field.
- Property-specific landing pages: Embedding the video directly on a dedicated property page keeps buyers on the page longer and gives you a shareable link for email campaigns.
- Email marketing: A thumbnail image linked to the video (rather than an embedded video, which many email clients block) is an effective way to drive clicks from your existing buyer database.
Writing Titles and Descriptions That Actually Get Found
Your video title should include the property address, the city or neighborhood, and one or two key features. Something like “4BR Colonial with Pool – [Street and City Names], Westchester County, NY” tells buyers and algorithms exactly what they’re looking at.
Descriptions should expand on this with two to three sentences in natural language that cover the property’s most marketable attributes, the asking price, if appropriate, and your contact information.
Invest in Professional Real Estate Videography
These tips give you a solid foundation for producing effective property videos on your own. That said, there’s a ceiling to what DIY production can achieve, especially for high-value listings, complex multi-structure properties, or any home where aerial footage is a genuine competitive advantage.
Professional videography isn’t just about better equipment. It’s about the experience of knowing which shot will move a buyer emotionally, the technical skill to capture it correctly in one take, and the post-production discipline to shape raw footage into a narrative that sells.
For Westchester County agents who want their listings to consistently look like the best ones on the market, that level of consistency is hard to replicate with a part-time DIY approach.
At Home Media specializes in real estate photography and videography tailored to the competitive Westchester County market. From ground-level cinematic walkthroughs to FAA-certified drone footage, every production is designed to make your listings stand out and sell faster.
Ready to boost your property marketing? Get in touch with At Home Media to discuss your next listing and find out how professional video can work for you.


No Comments